The term “fabric bias” is frequently mentioned by designers and tailors, potentially causing confusion for newcomers to the field.
Central to this understanding is the concept of the fabric bias, a fundamental characteristic that unlocks unique drape, movement, and aesthetic possibilities unavailable when working solely on the straight grain.
What is Fabric Bias and Grain?
All woven fabric possesses an inherent grain structure dictated by its weave.
The lengthwise grain, or warp, runs parallel to the selvedge edges and is the most stable direction, exhibiting minimal stretch.
The cross grain, or weft, runs perpendicular to the selvedge, perpendicular to the lengthwise grain. While slightly less stable than the lengthwise grain, it also offers limited stretch in most stable wovens.
These two grains form the foundation upon which most pattern pieces are traditionally aligned.
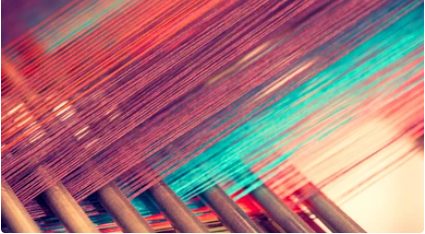
The true bias runs at a precise 45 degree angle to both the lengthwise and crosswise grains. Imagine drawing a diagonal line intersecting these perpendicular directions – that line traces the bias grain.
This 45-degree orientation is the angle where woven fabrics exhibit their inherent maximum stretch and fluidity. This isn’t stretch derived from elastic fibers, but a mechanical property of the weave structure itself.
Why Cut on the Bias?
Cutting fabric on the bias unlocks a spectrum of desirable properties:
- Enhanced Drape and Fluidity: The fabric loses rigidity and gains an almost liquid quality. It skims and clings to the body’s curves in a uniquely flattering way, creating slinky silhouettes.
- Controlled Stretch: While not a substitute for knit fabrics, the inherent mechanical stretch of the bias grain allows woven bias-cut garments to accommodate curves and movement more comfortably. This makes it ideal for flowing dresses, skirts, and tops designed to move with the wearer.
- Reduced Fraying: Fabric cut precisely on the true bias tends to fray significantly less than fabric cut on the straight or cross grain. Long threads pulling out along the grain lines become a non-issue.
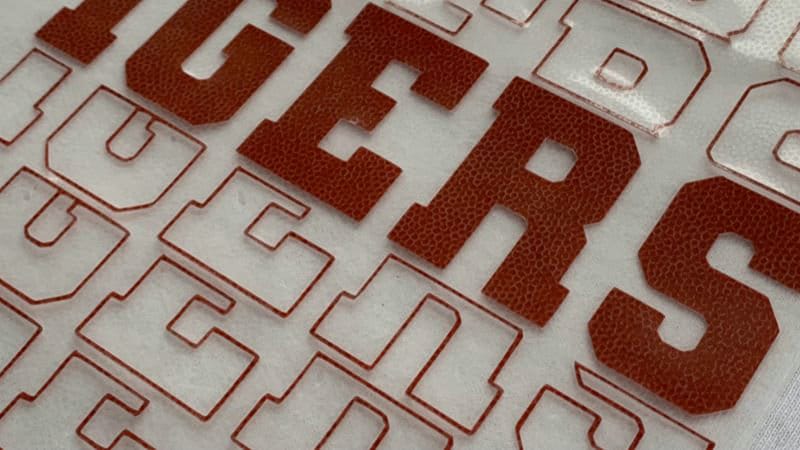
- Unique Aesthetics: Cutting patterned fabric (like stripes, plaids, or florals) on the bias creates striking visual effects. Stripes can form elegant chevrons, florals gain a dynamic asymmetry, and geometric patterns take on a new dimension. It’s a powerful tool for design innovation.
- Binding Curves: This is where bias tape shines. Cut on the bias, long strips of fabric become flexible enough to bend smoothly around curved edges without puckering or buckling, making them perfect for necklines, armholes, and hems on both bias-cut and straight-grain garments.
How to Cutting Fabric on the Bias
Fabric Selection
Not all wovens are created equal for the bias cut. Opt for fluid, draping fabrics like rayon challis, silk crepe, satin, viscose, lightweight wool crepe, or cupro.
Avoid stiff fabrics like canvas or heavy denim; they won’t drape effectively and may fit too tightly due to limited stretch. Perform the “hang test”: hang a precisely cut 45-degree bias square for 24 hours. Fabrics suitable for fluid garments like slips will noticeably stretch into a lozenge shape.
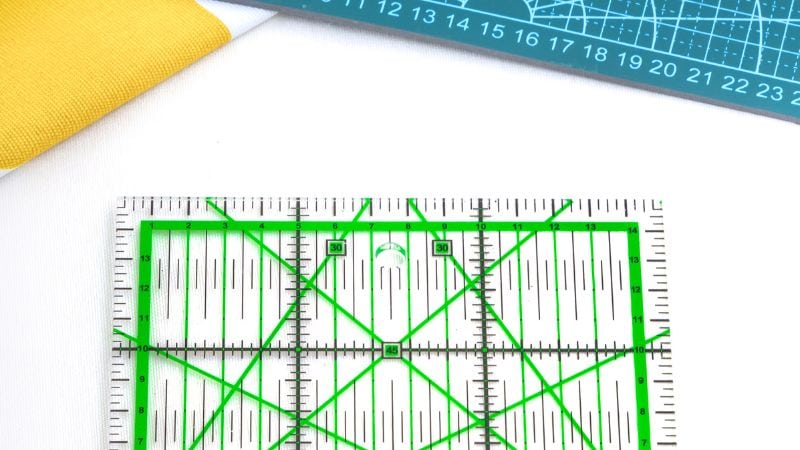
Finding the True Bias
Accuracy is non-negotiable. The bias grain must be at exactly 45 degrees to the selvedge. Use a clear quilt ruler or a dedicated 45-degree triangle ruler aligned with the selvedge or a marked straight grain line to establish this crucial direction. Extend this line across your fabric.
Laying Out Pattern Pieces
Bias-cut garments demand single-layer cutting. Double layers can obscure grain alignment. Carefully align the grainline marked on each pattern piece with your established true bias line.
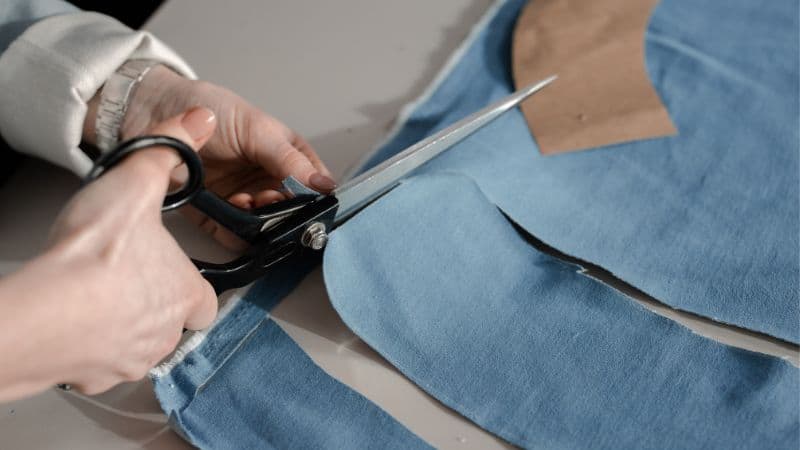
Stabilizing and Cutting
Drapey fabrics shift easily. Use ample pattern weights to secure the fabric fully on your cutting surface. Never let edges hang off the table, as the weight will distort the grain.
Use a sharp rotary cutter for minimal fabric disturbance or micro-serrated shears to prevent slipping. Carefully transfer all construction marks using tailor’s tacks or removable pens.
Guide of Making Bias-Cut Garments Step by Step
Sewing fabric on the bias presents unique challenges requiring specific techniques:
Handling Cut Pieces
Handle pieces gently to avoid stretching them out of shape before sewing. Store them flat unless deliberately hanging pieces like skirt panels to allow them to stretch slightly before final trimming and hemming.
Staystitching
This is mandatory! Staystitch necklines, armholes, and waistlines immediately after cutting, within the seam allowance, using a standard stitch length. This prevents these critical curved areas from stretching irreparably during handling.
Seam Construction
Bias seams need to retain the fabric’s stretch. Test different methods on scraps:
Stretch as you sew: Gently stretch the seamline slightly while sewing a standard straight stitch. This builds in ease, but be cautious – it narrows the seam allowance, so marking the seamline beforehand is helpful.
Narrow Zigzag: A small zigzag offers inherent stretch without requiring manipulation during sewing. Avoid stretching the fabric while using this stitch.
Stabilization
Reinforce areas under stress like pocket openings, zipper placements, or shoulder seams with lightweight knit interfacing applied to the seam allowance’s wrong side.
Pressing
Use low heat, abundant steam, and a press cloth religiously to avoid shine or scorching. Press with an up-and-down motion; never slide the iron, which can distort the bias fabric. Use a tailor’s ham for curved seams.
Seam Finishing
While bias fabric frays minimally, finishing seams is recommended for durability and a clean interior. French seams offer an elegant solution for lightweight fabrics. A serged finish is also effective.
Balancing the Hem
The fluid nature of bias means hems will stretch unevenly after cutting. After constructing the main garment, hang it for at least 24 hours.
Then, have the wearer stand perfectly level, without shoes. Using a yardstick resting on the floor, measure and mark the desired hem length evenly all around. Trim and finish with a narrow or baby hem, as wider hems on bias fabric are notoriously difficult to make lie flat.
Frequently Asked Questions
How to tell if a fabric is bias cut?
Look for pattern elements, like stripes or the fabric’s weave lines, running diagonally across the garment piece, typically at a 45-degree angle to seams like center front/back or hems.
What is the bias on a sewing machine?
Actually, the sewing machine itself doesn’t have a bias.
Does cotton have a bias?
Yes. Cotton fabric, if it’s woven, has a bias grain running diagonally at 45 degrees to its straight and cross grains.