Leather, a widely used material across various industries like furniture, upholstery, and footwear, has seen the emergence of a new technology called Heat Transfer Vinyl (HTV). To determine the suitability of using HTV on leather, it is crucial to understand what HTV is and how it is applied.
What is Heat Transfer Vinyl?
Heat transfer vinyl (HTV) is a kind of vinyl used to decorate clothing, bags, and other soft goods. Unlike adhesive vinyl or logo vinyl, HTV is applied to the item using heat and pressure. The specific application method for each type of HTV depends on the fabric and the texture. Just as there are many different types of clothing, there are also different types of HTV to decorate them.
Can You Use Heat Transfer Vinyl on Leather?
Definitely yes, HTV is suitable for different kinds of leather materials, both real genuine leather and faux leather. However, please be careful, make sure you choose the appropriate temperature, and finish your cutting on the cutting mat; ensure its shape is good before using the HTV techniques.
Choosing the Right HTV Material
When selecting heat transfer vinyl (HTV) for leather, opt for materials that are thin and flexible to ensure they can move with your leather item without cracking. You’ll find a range of HTV types suitable for leather, including standard, glitter, and even holographic varieties.
- Standard HTV: Best for simple designs and everyday items.
- Glitter HTV: Adds sparkle to your design, but is thicker.
- Holographic HTV: Provides a unique look like a shiny side.
Advantages of Using HTV on Leather
Adding HTV to leather can enhance its appearance. It is easy to personalize with a custom leather design. This method is particularly useful for creating intricate designs that might be difficult to achieve with traditional leatherworking techniques. The key benefit of using HTV on leather goods is that you can achieve a high level of detail and consistency in your designs, making your projects stand out.
Embellishing your leather with HTV isn’t limited to flat designs; you can add texture and dynamic effects. Try using an embossing technique, where you apply heat to create a raised design on the leather surface. Use metal plates cut to the shape of your design to emboss the leather before applying the HTV, which creates an added layer of texture.
- Emboss with Metal Plates: Place the metal plate on the leather and heat.
- Textured HTV Application: After embossing, apply your HTV over the textured surface.
How to Apply Heat Transfer Vinyl on Leather?
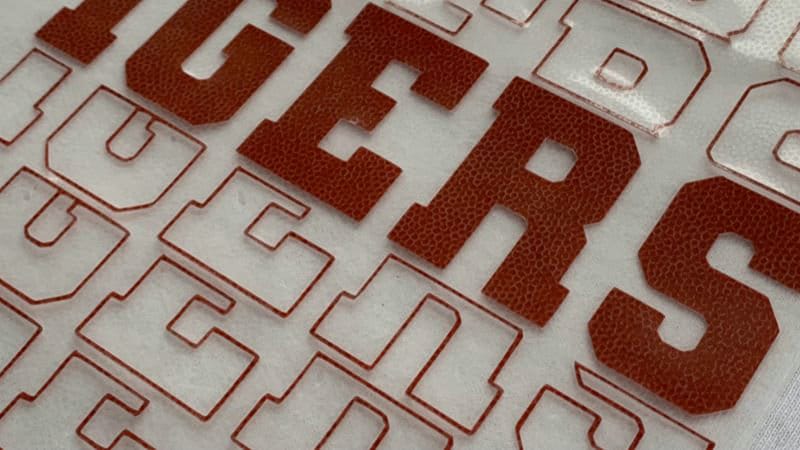
When using heat to apply HTV (heat transfer vinyl) to leather, precision is key. Whether you’re working with a heat press machine or a simple iron, it’s critical to use the right temperature and method. This section will guide you through the best practices to diy leather products on your own.
Using a Heat Press Machine on Leather
To start, preheat your heat press machine to the temperature recommended for HTV, which often ranges between 250°F. Place a Teflon sheet or cover sheet over your design to protect the leather.
- Position your HTV design on the leather item.
- Set the machine to the recommended temperature.
- Press down with firm pressure for the specified time, usually 5-10 seconds.
- Allow the design to cool before slowly peeling off the carrier sheet.
Check for a successful transfer: If you see the leather’s texture through the vinyl, it signifies a good application.
Iron Application Methods
If a heat press isn’t available, a home iron can suffice. Ensure it’s set to the cotton setting or equivalent, generally between 250°F. A cover sheet is still important for protection.
- Place the design and cover it.
- Press the hot iron firmly onto the design area.
- Hold for 5-10 seconds; avoid moving the iron back and forth.
- Allow cooling before removing the carrier sheet.
Note: Use constant pressure and avoid steam holes by using the edge of the iron.
Essential Tips for Heat Pressing
Success with heat-transferring HTV onto leather requires attention to detail and adherence to best practices.
- Pre-test: Always test the heat and pressure on a small, inconspicuous area of the leather first to prevent damage.
- Protective Barrier: A Teflon sheet or a thin cotton cloth can act as a barrier to disperse the heat and protect the leather’s surface.
- Pressure: Apply firm pressure to ensure the vinyl adheres properly.
- Patience: Allow the design to cool down completely before peeling off the carrier sheet to ensure the design sticks.
Whether using an EasyPress or a professional-grade heat press machine, following these techniques will help maintain the integrity of the leather, while securing the HTV in place.
When working with heat transfer vinyl (HTV) on leather, you might encounter a few hiccups. If you meet these common issues, please follow these tips:
Uneven Transfer or Peeling: If your HTV is peeling off or didn’t adhere well:
- Check Pressure: Make sure you’re using medium pressure in your heat press.
- Adjust Heat: Leather can be sensitive, so start with a lower temperature and gradually increase if needed.
Discoloration or Burn Marks: Leather can discolor if it’s exposed to too much heat:
- Test First: Always test on an inconspicuous area to find the heat sweet spot.
- Protective Sheet: Use a Teflon sheet or parchment paper to protect the leather surface.
After adjusting to the suitable temperature and pressure, you can reheat the leather again, but be cautious of the leather’s threshold for heat.
When you finish the process, make sure to check all the parts are fine.
Protective Measures for Long-Lasting Results
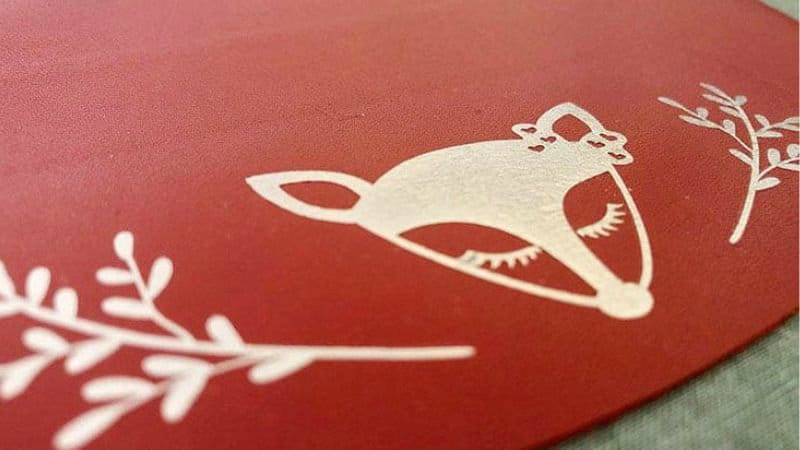
To a permanent vinyl, it’s crucial to take certain protective steps during and after application. Use a cover sheet, like a Teflon sheet or parchment paper, when pressing to protect both the HTV and the leather. After application, avoid exposing the customized leather item to extreme heat or harsh cleaning chemicals.
- During Heat Pressing: Use Teflon sheet/parchment paper.
- Post Application Care: Avoid heat and harsh chemicals, wipe gently if needed.
With the right methods and materials, applying HTV to leather can be a rewarding process that adds a special touch to your crafting projects.
When you finish the whole process, please wait for at least 24 hours before using your leather product.
Popular PU Leather Products From HTV Technology
Laser engraving can design faux leather items, especially for pu leather gifts. You also can diy leather projects step by step.
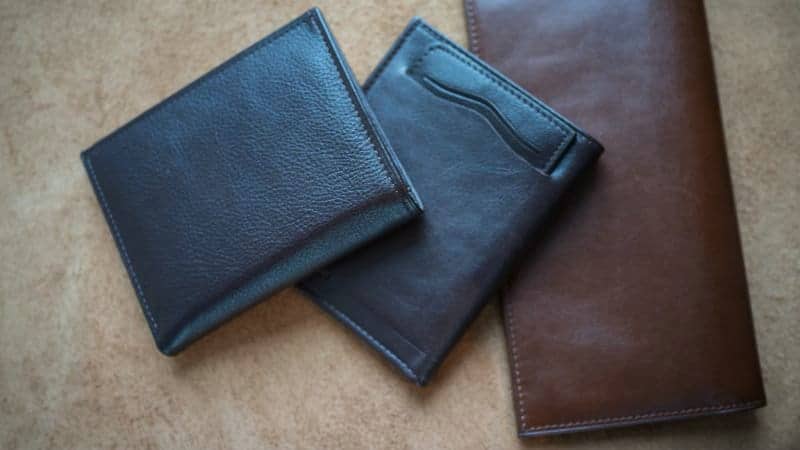
Wallets – Many of the results mention laser engraving PU leather wallets as a popular application. Blank PU leather bifold wallets are available in bulk for adding custom laser-engraved designs.
Bags – PU leather bags like travel bags, handbags, and shoulder bags are frequently laser engraved. The engraving adds a custom, personalized touch to the bags.
Journals/Notebooks – Laser engraving PU leather journal and notebook covers is mentioned as an easy and profitable application. Libraries, bookstores, and gift shops are potential markets for selling these.
Keychains & Accessories – PU leather can be laser engraved and cut to make personalized accessories like keychains, bracelets, hat patches, pet collars, and more. These make for popular custom gift items.
Business Products – PU leather is used to make laser engraved business products like portfolios, briefcases, credit card holders, and card cases. The laser engraving adds a professional branded look.
In general, PU leather is a very popular material for laser engraving because it engraves cleanly, provides good contrast, and the engraved leather products have a classic, high-perceived value.


